Responsive React Portfolio
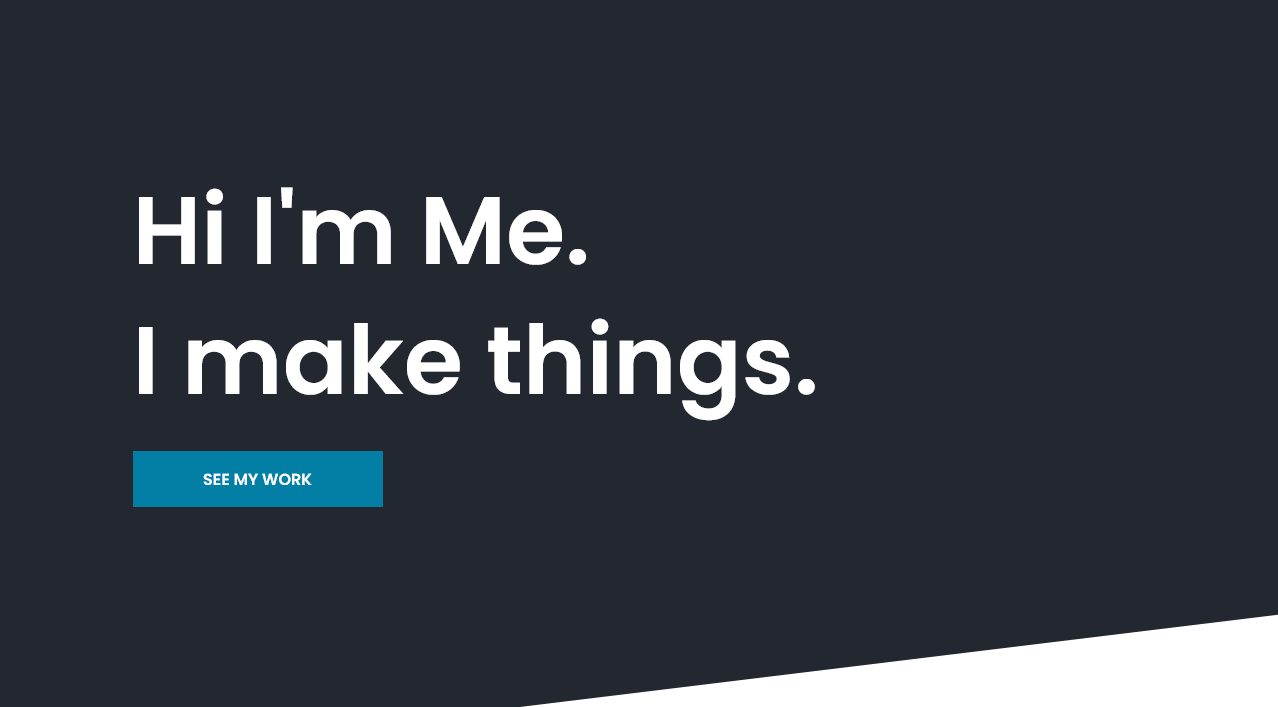
This is a re-branded copy of my Responsive Web Portfolio project built in React. I thought it would make good practice just to take a simple web page I was already familiar with and convert it. Turned out to be a perfect introductory-scale project.
Routing and React Router Hash Link
Even though there’s only one page to the Responsive Web Portfolio, I went to the trouble of routing a Home page just to get the practice in. Later if I decide to expand the portfolio site to more pages, it’ll be easier to bootstrap it from there. Next, I got started by simply copying the static markup from the original project into that Home component. Once that was done, the next hurdle was restoring the anchor links. React router doesn’t play nice with anchor links out of the box so I googled around and found the react-router-hash-link package. It did exactly what I needed.
Splitting the Components
From there I broke each section out into parent components, Header, Footer, and Main. I further subdivided the Header with a Nav component, and also split the Main component out into About, Work, Skills, and Experience. The Main components might be a bit superfluous, since there’s no state management happening with them. But it felt more organized to split them out rather than leave all that markup dumped in Main. Splitting Nav out from Header was a good idea though, because it required me to pass some state between the two.
Converting the JavaScript to State
The only interaction on the site is the mobile navigation toggle and the fixed header transformation on scroll. In the original project, I employed vanilla JavaScript to change some classes on these elements. In the new version, I had to establish states to handle those transformations. The menu state gets updated in a function called handleMenuToggle, which is passed into the Nav component to be triggered when the user interacts with the hamburger button. Another function called handleFixedNav is triggered in the useEffect hook when the user scrolls the page. Both states are then used conditionally in the <header> markup to determine whether certain classes should show.
Deployment
I initially tried to deploy this app to Glitch like I’d been doing with react and node.js apps up until now. It didn’t work though. Googling revealed some common issues importing create-react-app projects to glitch. I made a few attempts to re-assemble the project in Glitch from the ground up and it just wasn’t working out. Eventually I gave up and looked into hosting it myself in a subdirectory of my personal portfolio site. Turns out it’s super easy. Step one was to modify the package.json file to include a homepage property that points to my subdirectory. Step 2, add the relative path to the basename of the react router. Step 3, since my site is hosted on an apache server, I needed to add an .htaccess file to the public directory of the project. From there it was as simple as running the project build command and dumping the resulting files into the directory on my server.
I learned a lot on this one. I’m definitely feeling more confident about passing state through various components. The effect hook is still a little nebulous to me though. I get that it’s generally used to “escape” the react render and interact with external systems. I plan to pursue more detailed instruction on when and why to use it.
 Machine Shop Simulator
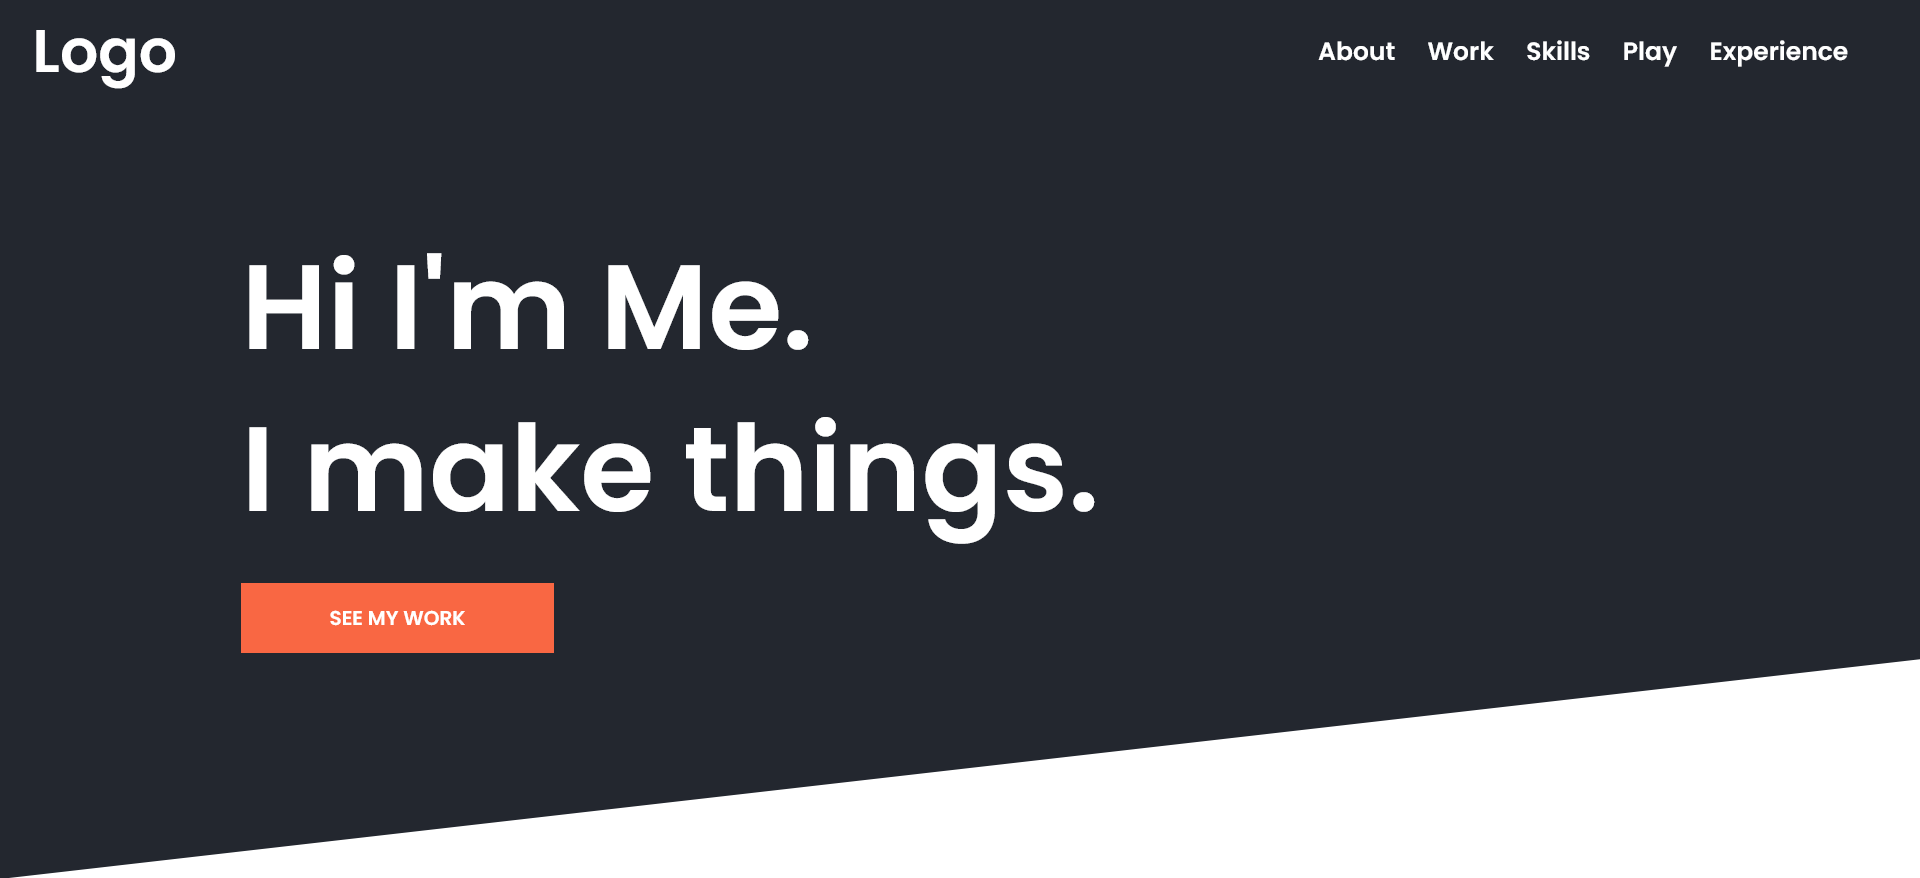 Simple Responsive Portfolio Svelte
 Javascript Arcade